Codemation
Build automation workflows in TypeScript with a code-first developer experience, durable execution, and a framework-owned runtime.
What is Codemation
Codemation is a code-first automation framework for developers who want to build durable workflows in TypeScript instead of stitching together one-off scripts, custom queues, ad-hoc secrets handling, and a separate operator UI.
Codemation in 10 lines
Workflows are just TypeScript: defineCodemationApp(...), workflow("..."), and a chain of fluent steps — no YAML, no hidden graph editor as the source of truth.
import { createWorkflowBuilder } from "@codemation/core-nodes";
import { OnNewGmailTrigger } from "@codemation/core-nodes-gmail";

export default createWorkflowBuilder({ id: "wf.orders.inbox", name: "Inbox → OCR → ERP → email" })
  .trigger(new OnNewGmailTrigger("Inbox", { mailbox: "orders@acme.com", downloadAttachments: true }))
  .then(new InvoiceOcr({ preset: "invoice" }))
  .then(new SyncOrder({ system: "erp" }))
  .then(new SendOrderEmail({ template: "ack" }))
  .build();
Illustrative only — InvoiceOcr, SyncOrder, and SendOrderEmail are your own nodes.
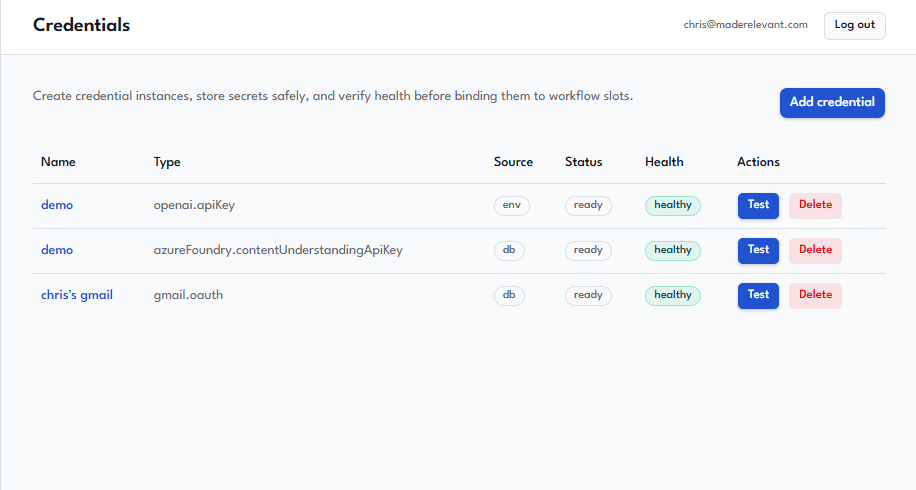
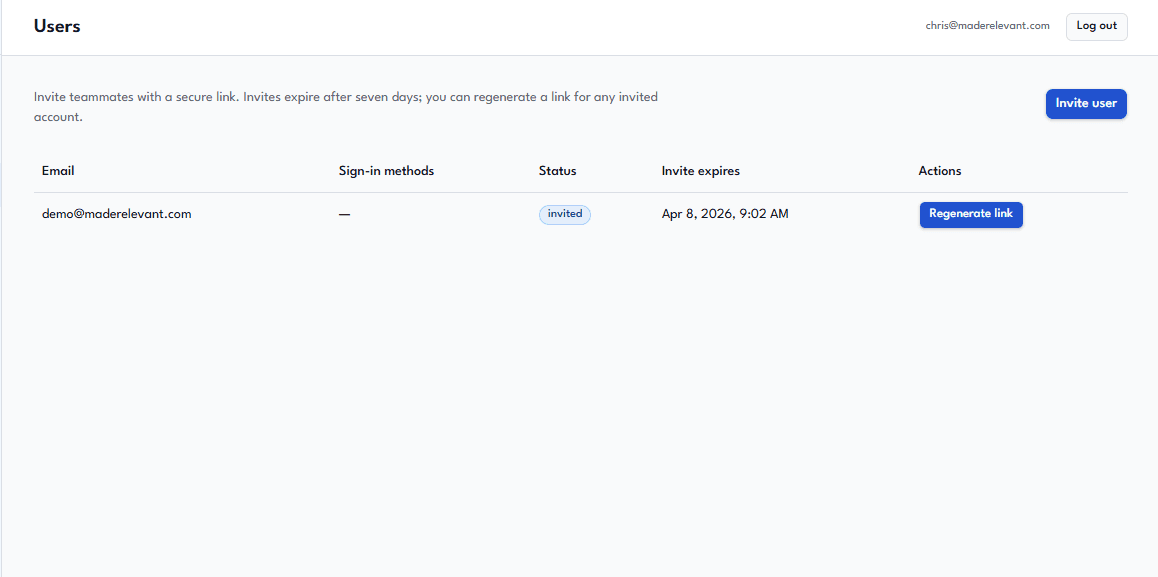
See Codemation in action
Browse a few highlights from the framework-owned operator UI: workflows, binaries, credentials, users, debugger pins, and integrations.
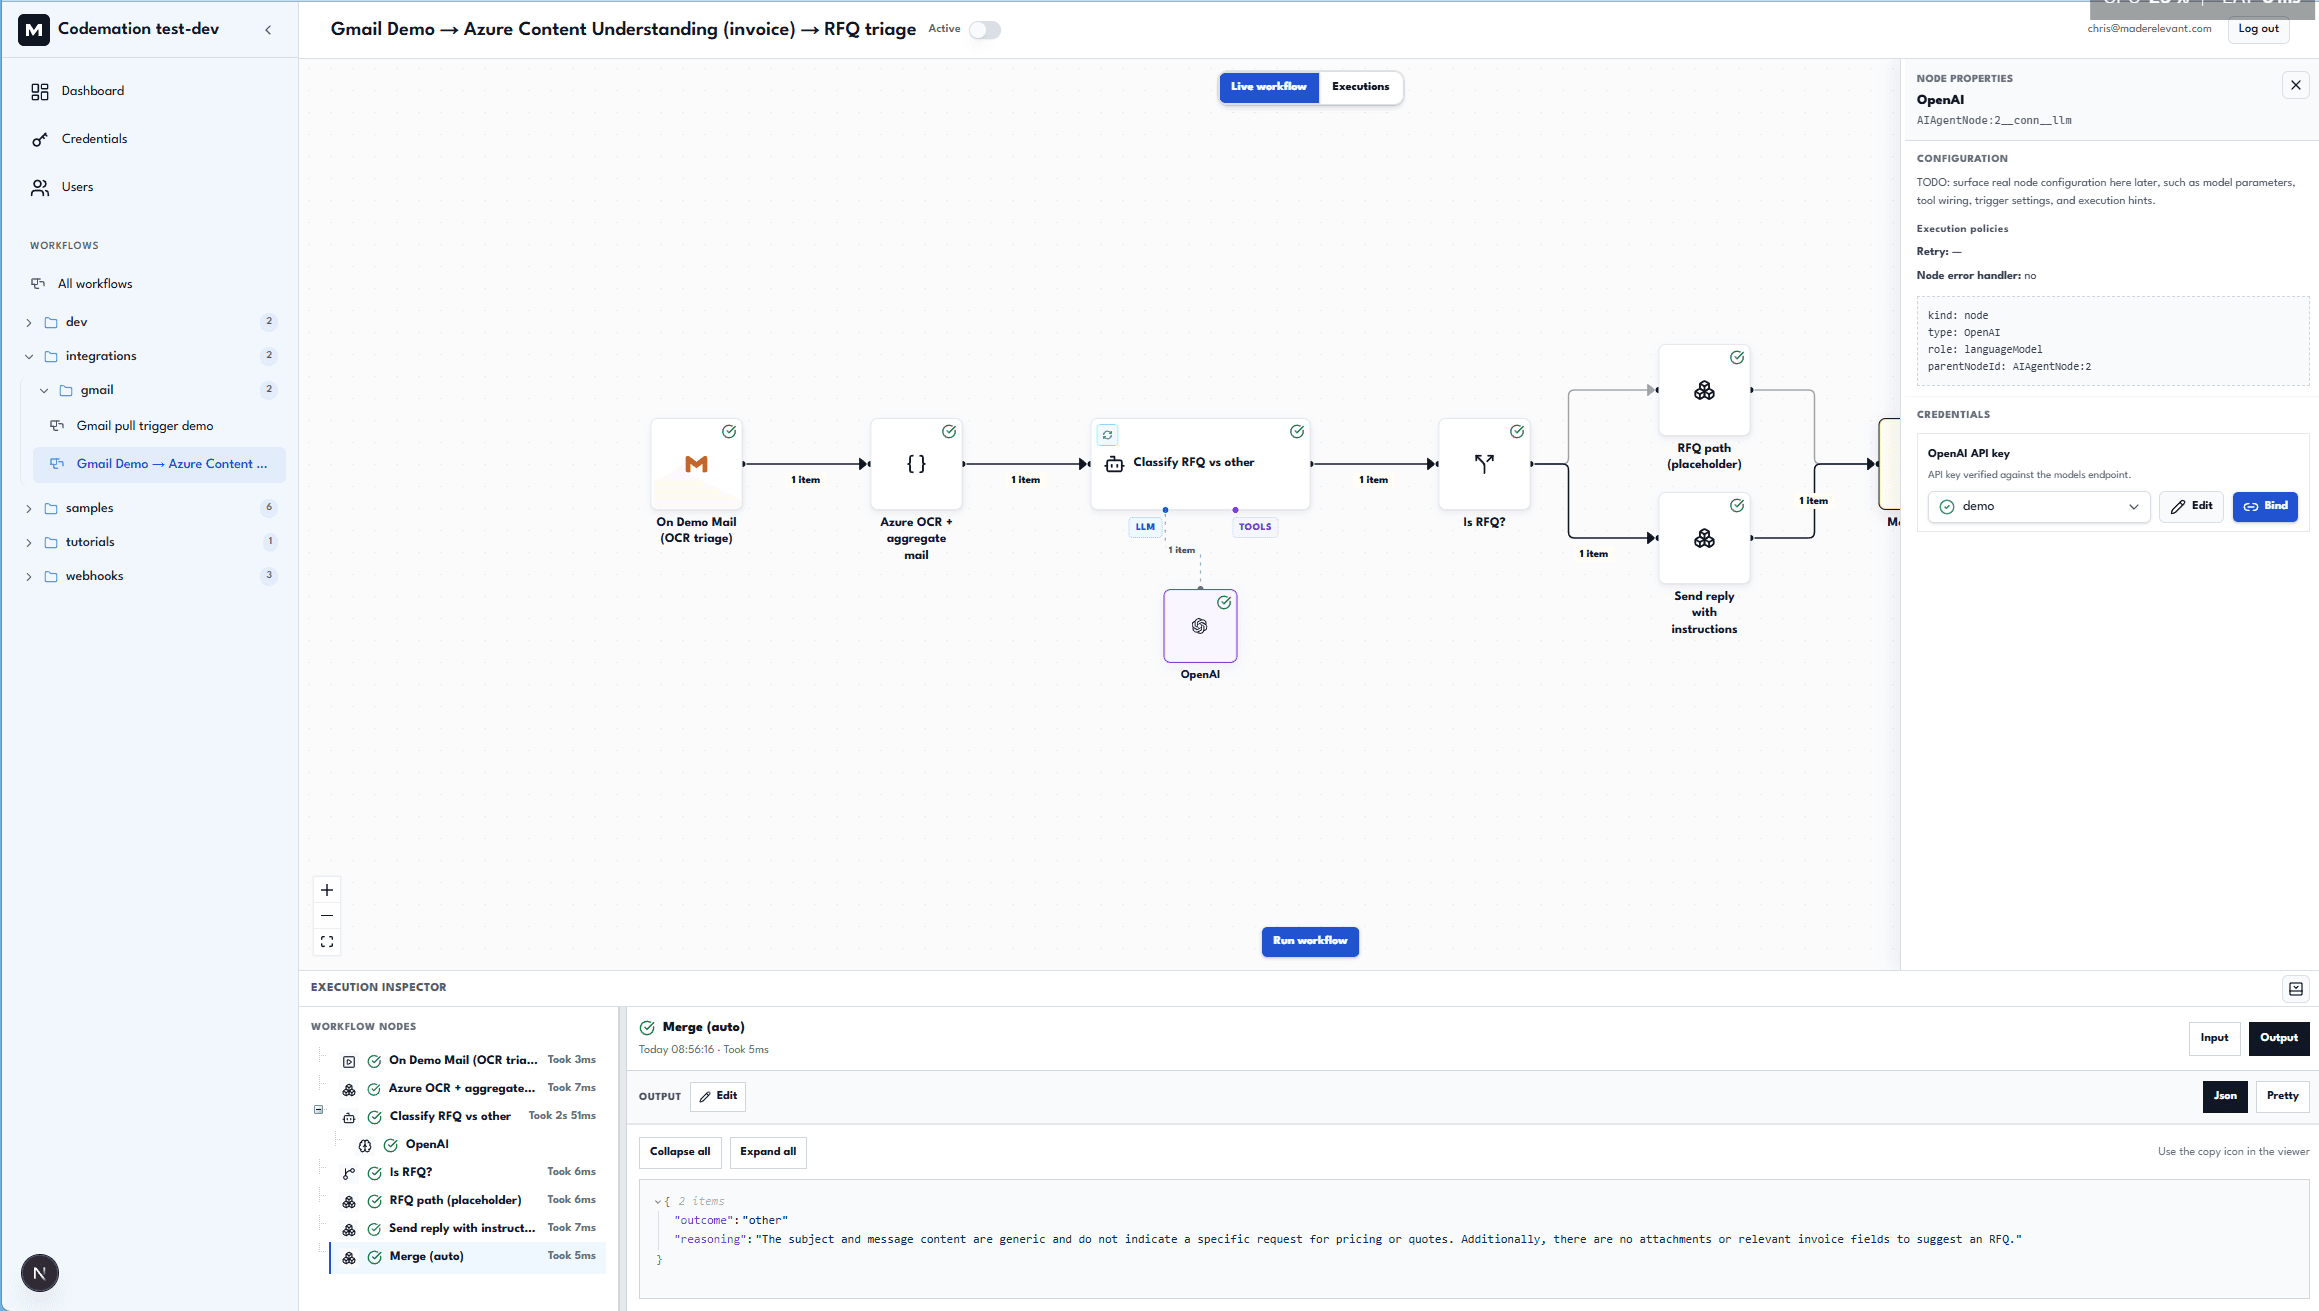
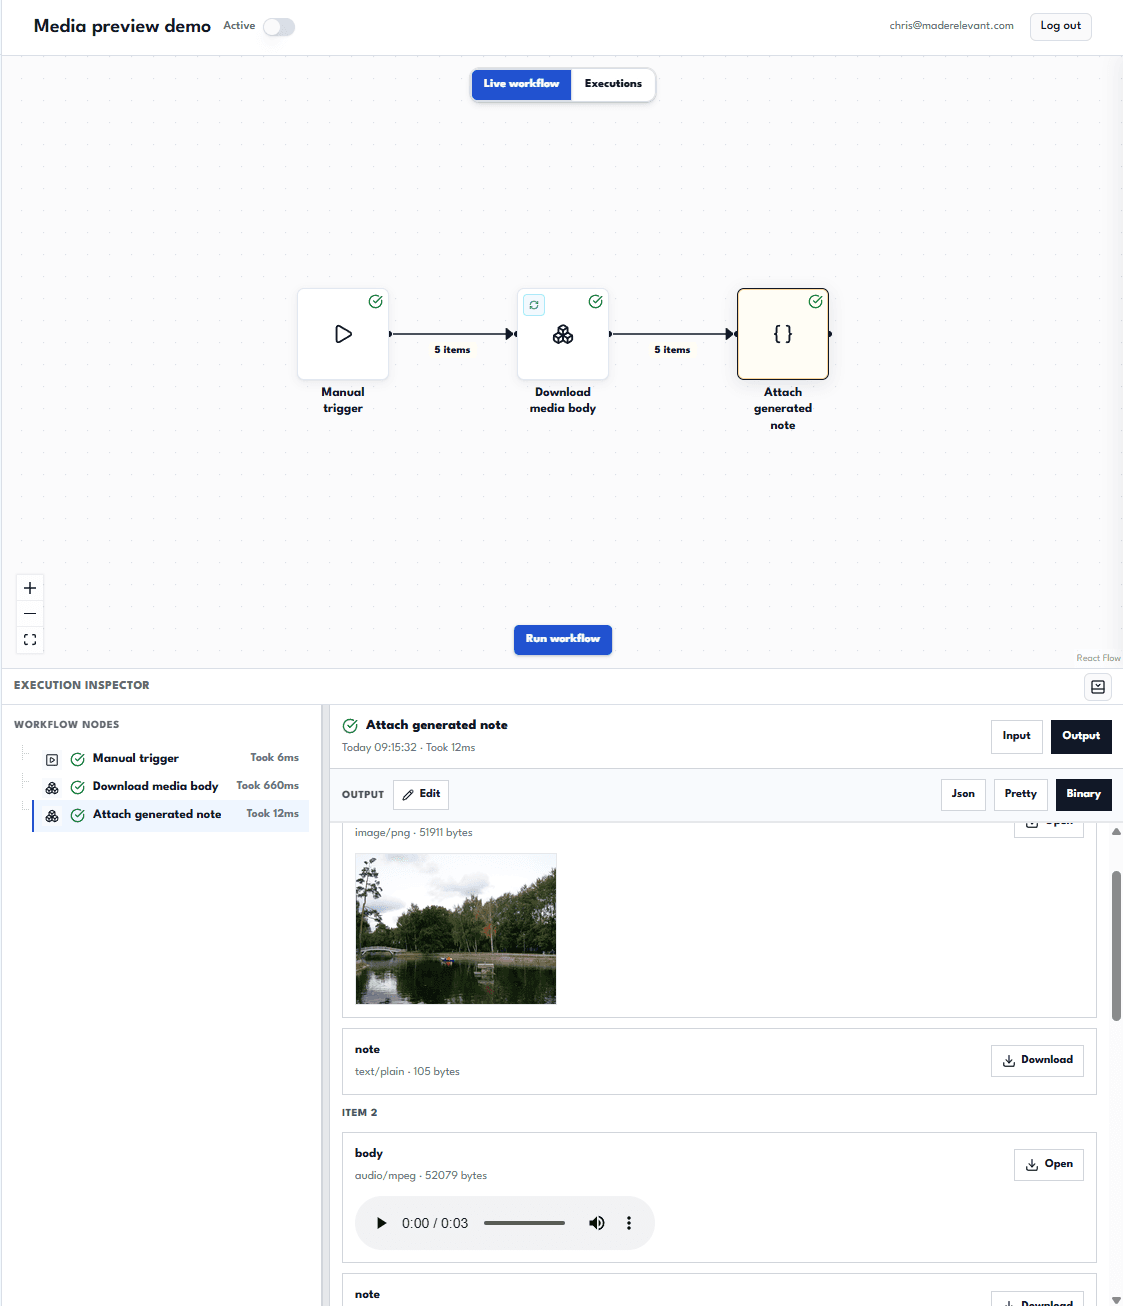
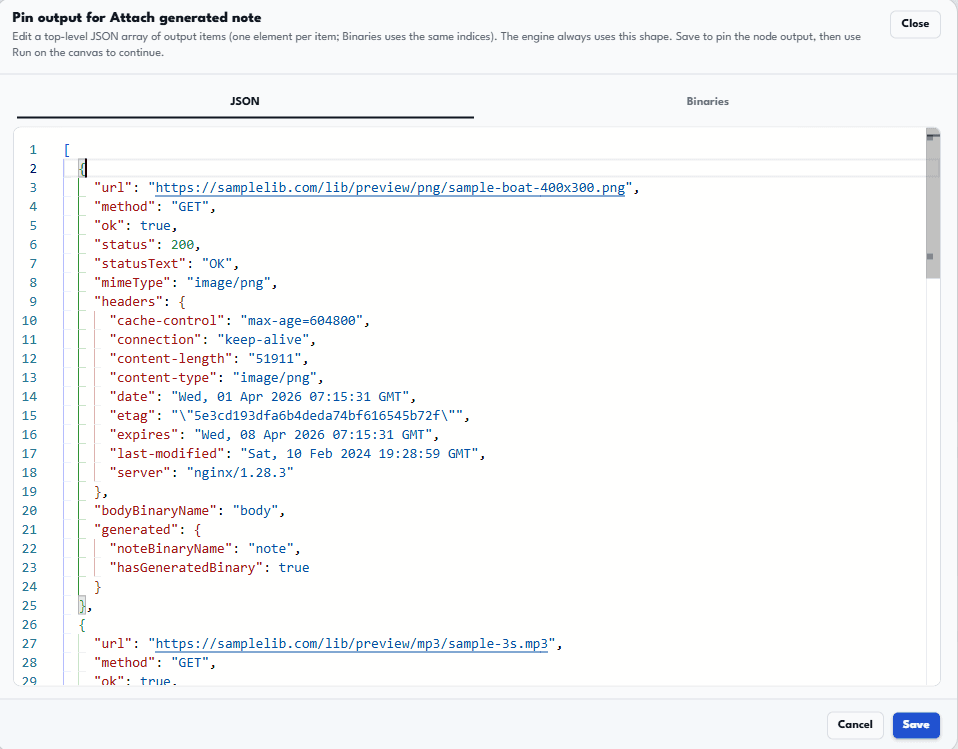
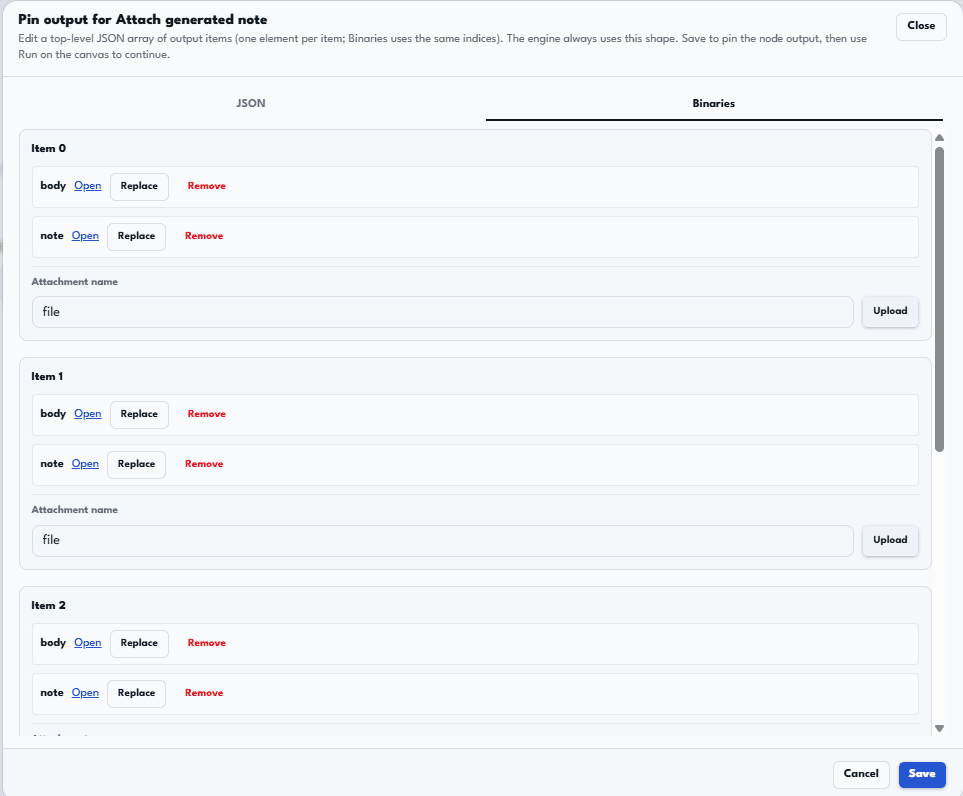
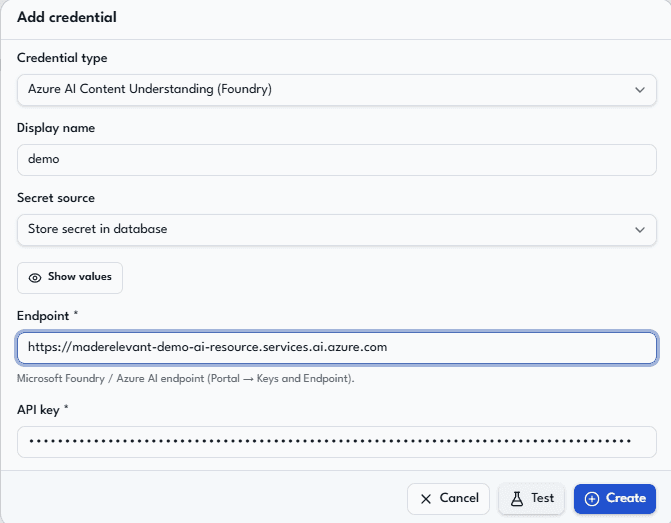
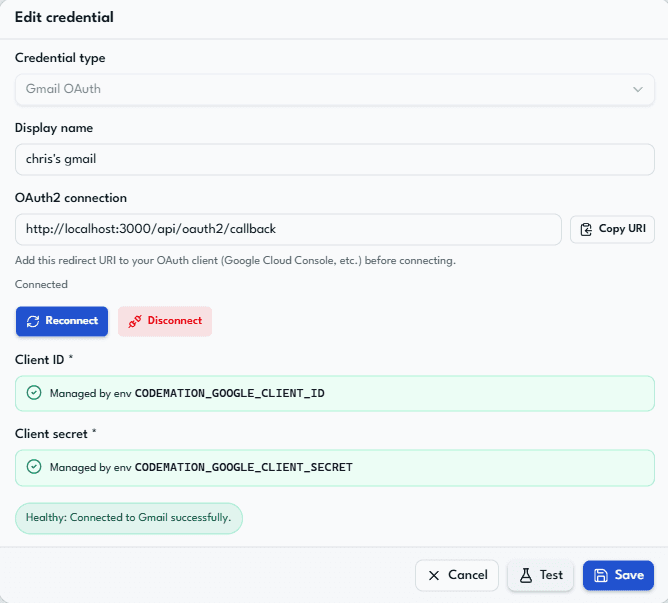
Code-first workflows with an operator canvas — agent and integration steps side by side.
Fastest path to a running app
Two commands after you pick a project name:
pnpm create codemation <project-name>
cd <project-name>
pnpm dev
Configure workflows, credentials, and runtime wiring in <project-name>/codemation.config.ts with defineCodemationApp(...) when you need to go beyond the defaults.
That gives you a generated Codemation app and a working local development environment. Add database migrations and a first UI user when your template or setup prompts for them, or follow Getting Started for the full first-time steps.
Codemation is designed for teams building:
- internal automations
- AI-powered workflows
- integration pipelines
- agentic flows that need observability and retries
- production setups that grow from local development to web + worker deployments
Start here
The docs now split into four clear tracks:
- Getting Started for the fastest path to first success
- Concepts for the mental models behind workflows, nodes, credentials, and runs
- Configuration for
codemation.config.ts, auth, database persistence, engine settings, and branding - Architecture and Deployment for runtime shape and operating decisions
When you are ready to extend the framework, move into:
- Plugin development for scaffolding a plugin package, local dev with
codemation dev:plugin, sandbox config, publishing, and consuming plugins from an app - How-To Guides for story-driven extension walkthroughs
- Nodes for per-node reference pages with signatures and examples
What you own
As an app developer, you mainly own:
codemation.config.ts- workflow files under
src/workflows - optional custom nodes
- optional custom credential types
- deployment choices such as local SQLite vs PostgreSQL and inline execution vs BullMQ workers
The happy-path authoring APIs are:
defineCodemationApp(...)workflow("...")defineNode(...)(per-itemexecuteOne; usedefineBatchNodefor batchrun)defineCredential(...)
What the framework owns
Codemation provides the runtime and product surface around your workflow code:
- a workflow engine for graph execution, continuations, and retries
- a host runtime for config loading, persistence, credentials, and APIs
- a framework-owned Next.js UI for operators
- a CLI for local development, building, migrations, and worker processes
- pluggable node packages so you can mix built-in capabilities with your own
Runtime at a glance

If you want the side-by-side view of the minimum setup, the production worker setup, and the engine layer, go straight to Architecture.
Suggested reading order
If you are new to Codemation, read these pages in order: